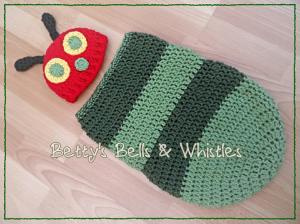
Caterpillar Cocoon

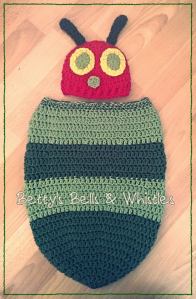
I was asked to make a Caterpillar Cocoon months ago and searched high and low for a (free) pattern that would work with the chunky yarn (stylecraft special) I had bought and had the ridges of a cocoon rather than just straight edges. I bit the bullet and set about designing my own pattern. Eek! It took a few goes to get the increase and decrease rows right so they could be seen but weren’t going to be tight or uncomfortable for a baby. I so wish I had made these for my own babies as I think they would have been so useful for cuddling them in and then transferring them to a moses basket, like a ready made swaddle. I used chunky yarn but two strands of contrasting DK would look good too. This cocoon fits newborn to three months.

1617375_1575143806066385_6908767790170820786_o

The pattern is in US terms.

Ch2 at the start of a row does not count as a stitch. Start round in the same stitch as the ch2, not the next one.

You need:

6mm hook, chunky yarn.

Magic ring, ch 2, 8 dc in ring, sl st into first DC to join. (8)

Row 2: Ch2, 2 dc in each stitch around (16)

Row 3: Ch2, *2 DC in first stitch, DC in next*. Repeat ** around. (24)

Row 4: Ch2, *2 DC in first stitch, DC in next 2*. Repeat ** around. (32)

Row 5: Ch2, *2 DC in first stitch, DC in next 3*. Repeat ** around. (40)

Row 6: Ch2, *2 DC in first stitch, DC in next 4*. Repeat ** around. (48)

Row 7: Ch2, *2 DC in first stitch, DC in next 5*. Repeat ** around. (56)

Row 8: Ch2, *2 DC in first stitch, DC in next 6*. Repeat ** around. (64)

Row 9: Ch2, DC in each stitch around (64)

Row 10: Ch2, *DC2tog, DC in next 6*. Repeat ** around. (56) Fasten off this colour and join new colour with a slip stitch.

Row 11: Ch2, *2 DC in first stitch, DC in next 6*. Repeat ** around. (64)

Row 12: Ch2, *2 DC in first stitch, DC in next 7*. Repeat ** around. (72)

Row 13: Ch2, DC in each stitch around (72)

Row 14: Ch2, *DC2tog, DC in next 7*. Repeat ** around. (64)

Row 15: Ch2, *DC2tog, DC in next 6*. Repeat ** around. (56).

Fasten off this colour. Join new colour with sl st. Repeat rows 11-15 twice more, alternating the colours used.

Finish off after a dec to 56 row and sc two rows, either in constrasting chunky yarn or in 2 x strands of dk. Hope you like it. Please let me know if there are any issues with the pattern!

Happy hooking x

PS the hat is a very cute pattern from Hand Me Down Hobby.

ETA Regarding the hat…

The second time I made this hat in newborn size I used stylecraft chunky and a 6mm hook. I started with 10 and increased 10 stitches each time until 30 stitches then increased in every 5th stitch to get 36 stitches in total. I did 8 rows altogether and then two rows of the rib edging.
10929042_1579689175611848_4189018688648088351_o

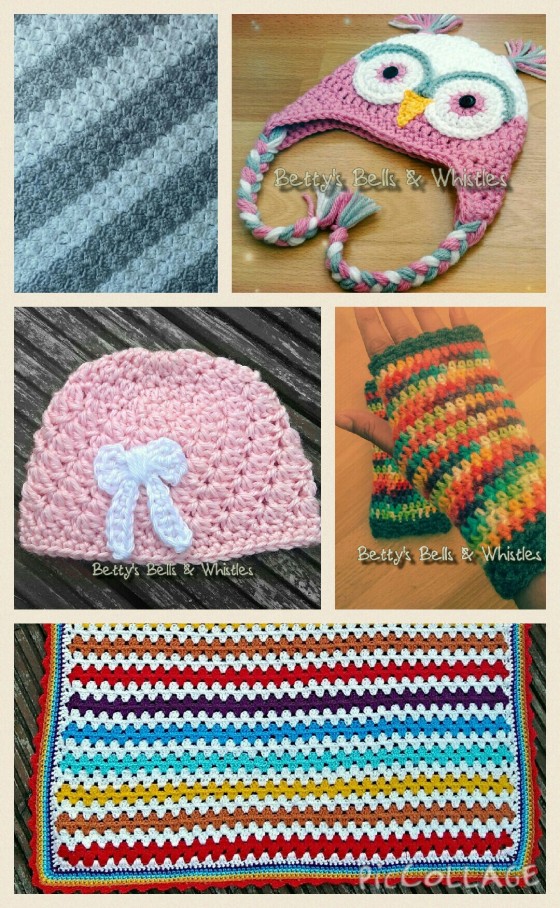
These are a few of my favourite patterns!

Collage 2015-01-08 16_27_44

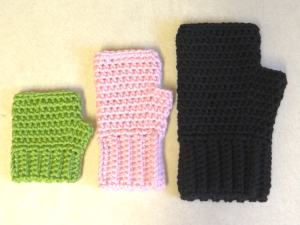
Fingerless mitts – such a simple pattern which works up beautifully. The pattern is for aran (worsted) weight yarn and a 5mm hook but it’s easily adaptable. I’ve made it with DK using a 4mm hook and just repeating the cuff until it fits around the wrist.

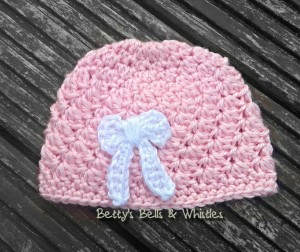
Itty bitty bow beanie – very cute and lovely texture to this pattern. Wish it was available in bigger sizes as my brain can’t work out how the increases would work!

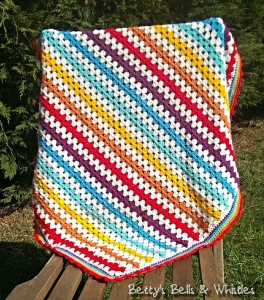
Attic24 granny stripe blanket – makes a stunning blanket and is one of my favourite patterns as I can watch TV while hooking it up!

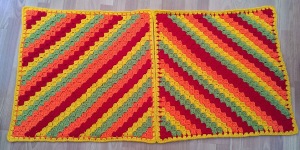
Corner to corner blanket – a thicker texture than the granny stripe and I love the diagonal pattern. Need to make more of these!

Owl hat – one of the first hats I made and Sarah from Repeat Crafter Me taught me so much about crochet. All her patterns are great and her explanations very clear.

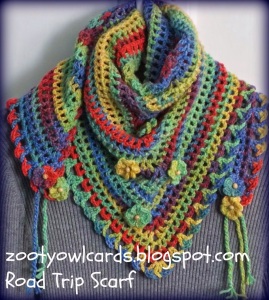
Road trip scarf – I love making these. I’ve made three so far in king cole riot but have so far not photographed any of them! Think I will have one in every colour combo before long.
fingerless gloves

Fingerless mitts

bright scarf

Happy New Year

It’s been so long since I posted! I’ll kick myself for this before long, when I’m wondering what yarn, hook or pattern I used for a particular project.

My blog absence is due to completing Christmas orders and then furiously hooking up a few Christmas presents, not to mention fitting in a social life, working and taking care of four children and one husband, it’s been a hectic few weeks! I thought I’d write a 2014 review post to remind myself what I have completed over the last few weeks and months.

***Going to try to group them into some kind of order as I’ve just realised exactly how many pics I’ve taken over the last few months!***

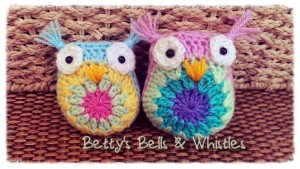
Owls

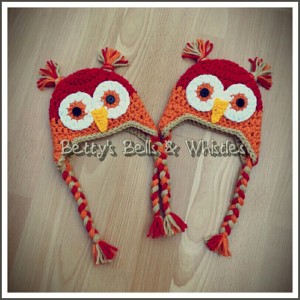
I love owls. Some much character in their faces and mannerisms and crochet owls are so popular. This pair of hats were for newborn twins, ahhhh,

14157871354511_wm (1)IMG_20140703_074212_wm

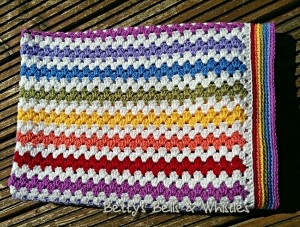
Blankets

I just love working with bright colours and ROYGBIV, or variations of, are my favourite. I made the first blanket for my youngest child and he loves it. He always sleeps really well when tucked in with this blanket which is an added bonus. The second and third pics were made to order and I loved every minute of making them.

IMG_20140710_031142_wm (1) IMG_20140820_112433_wm (1)

IMAG2349_1

Frozen Inspired Dress

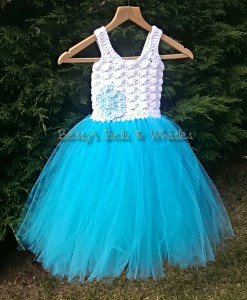
It was lovely to be asked to make something completely different, combining crochet with tulle! I was so pleased with how this dress turned out that it hung in my conservatory for a good few weeks like some kind of museum exhibit, I loved looking at it! It was then posted to Germany to a little girl for her third birthday.

IMG_20140914_172634_wm (3)

Bear Hooded Cowls

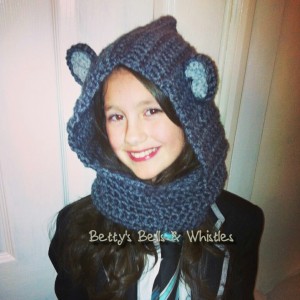
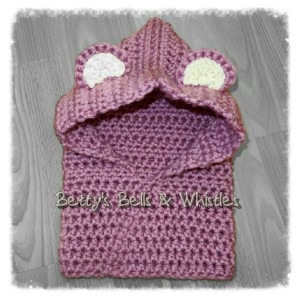
I love making these! They look infinitely cute on anyone who tries them on. Here’s my daughter modelling my first bear cowl, it has had a lot of wear which makes me so happy! The pink one was made for a customer order. I have made a few more to order and also I’ve made an orange one for my three year old and a  pale green/grey one for the toddler. A pic may follow if they ever stand still!

IMG_20141021_190855_wm  IMG_20141112_102506_wm (2)

Slouch hats and mitts…

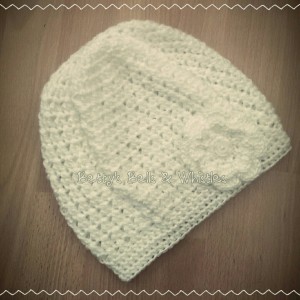
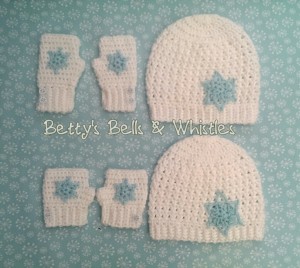
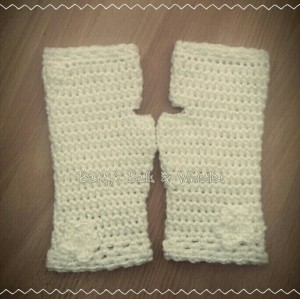
Were very popular this AW14! Made in a sparkly white yarn, which unfortunately doesn’t photograph well, these were so pretty and wintry! I have been meaning to make myself a pair of the mitts but haven’t got round to it yet. Maybe in time for next winter!

IMG_20141119_103713_wm 14183037234071_wmIMG_20141119_103417_wm

The rest…

In the words of my idol, these are a few of my favourite things!

IMG_20141130_132417_wm  14178638387461_wm 14178924756931_wm 14183040037541_wm  IMG_20141218_103153_wm IMG_20140918_112720_wm (1) IMG_20140918_125051_wm (1)  IMG_20141021_111457_wm  IMAG2385

Thanks for reading and supporting my love of crochet. Most patterns can be found via ravelry (although I am a bit rubbish at updating!), my username is littleroo.

Here’s to lots more hooking in 2015!

Some of my recent projects


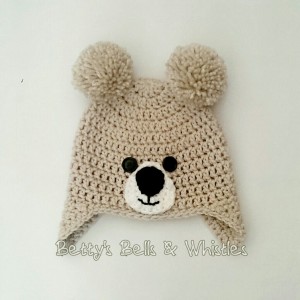
I love making these bobble hats. They look so cute on as well. I used Repeat Crafter Me’s polar bear pattern to make them, but using a 6mm hook instead of a 5.5mm, with chunky yarn. The preschooler size fits a good age range, probably from about 2-5 as it is lovely and stretchy.

IMG_20140908_185618_wm (1) IMG_20140917_112105_wm (1) IMAG2875_1_wm


This is the cutest little set for a newborn baby girl. I used this free pattern for the hat and Repeat craft me’s baby bootie pattern. Here is the pattern for the mitts. I used Red Heart baby soft yarn. It is lovely to work with and looks beautiful when finished.

IMG_20140918_125051_wm (1) IMG_20140918_125242_wm (1) IMG_20140918_125548_wm (1)

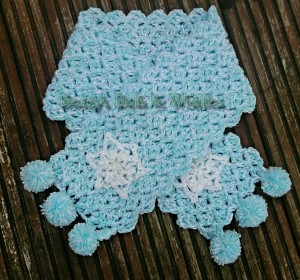
I was asked to make a scarf to go with the Frozen bobble hat  and wanted something with texture. I found used the “mindless scarf” pattern on Rav and loved how it turned out. It was a really easy pattern to follow, quick to work up and looks far more complicated than it is. I used double strands of stylecraft sherbet DK yarn and James Brett twinkle DK in white, like the Frozen hat, along with a 6.5mm hook.

IMG_20141008_104444_wm


Frozen themed bobble hat

Reblogging as I had forgotten to include the snowflake link in the original post. Oops!

Betty's Banter

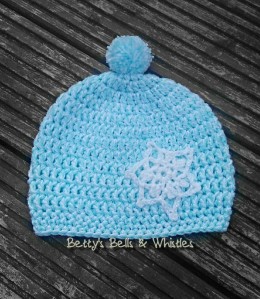
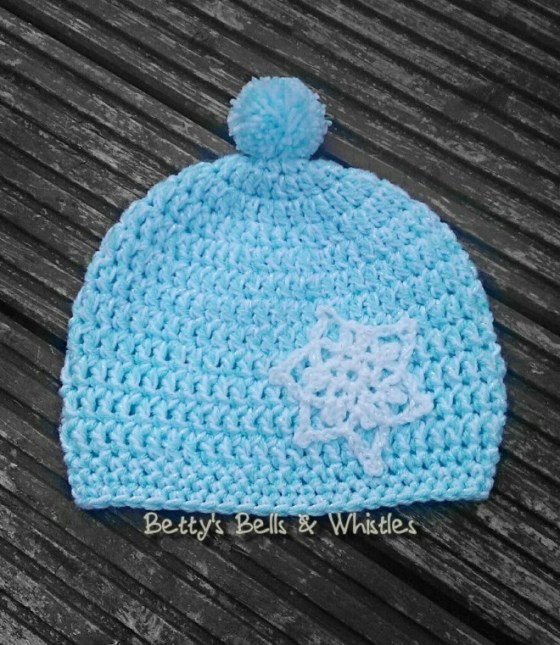
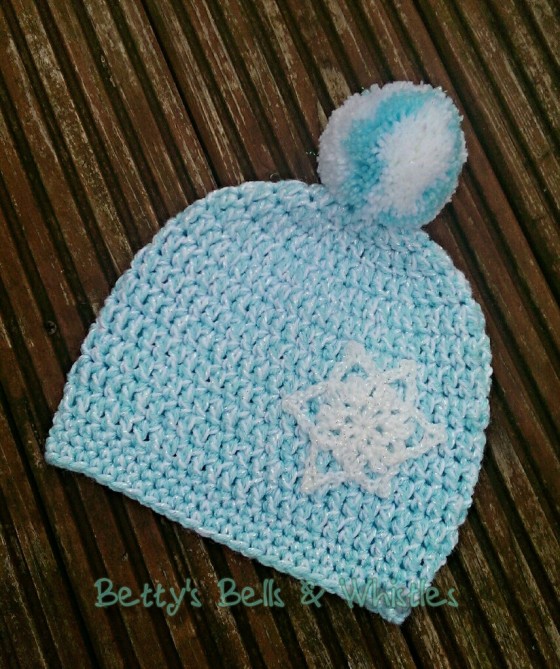
I was late to the party with regards to Frozen, I didn’t see it until the middle of summer but became slightly obsessed with the soundtrack as soon as I saw it. I also loved getting ideas for new hats and accessories and thought I would carry on with my theme of crocheting with two strands of yarn in order to make a hat that was a bit different to all the Elsa crowns and braids out there. This is a really simple hat that looks so sweet when complete.

This simple pattern makes a hat that will fit a child from approximately 3-8 years. It’s lovely and stretchy.

IMG_20140918_112720_wm

You need: 

  • DK yarn in turquoise and sparkly white. I used stylecraft special “sherbet” and James C Brett Twinkle DK in white.
  • 6mm and 5.5mm hook for hat. 4mm hook for snowflake.
  • Pom-pom maker such as this clover one. Alternatively…

View original post 184 more words

Teeny snowflake pattern

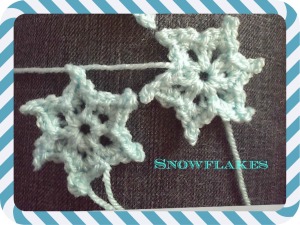
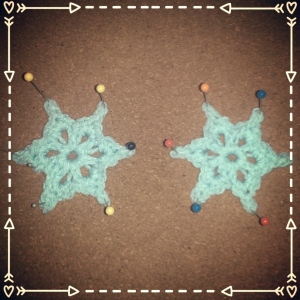
I struggled to find a small simple snowflake to add to some child size fingerless mitts so I came up with this. Just noting it down so the second snowflake matches my first!

snowflakes_1840526905516119500_o

They match!

Pattern is in US terms.

Use dk yarn and 3mm hook.

Ch4 and sl st into 1st ch to make a ring

Row 1: ch1, *sc into centre of ring, ch3* repeat ** 5 times with a slip stitch into first sc after the final ch3. There should be six ch3 loops.

Row 2: *2 sc into ch3 loop, ch3 then sc into 1st ch (picot), 2sc into loop. sl st into sc between loops on previous row.* Repeat ** 5 more times and fasten off.

I recommend blocking to fix the snowflakes in shape before appliqueing (is that a word?!)

I recommend blocking to fix the snowflakes in shape before appliqueing (is that a word?!)

Frozen themed bobble hat

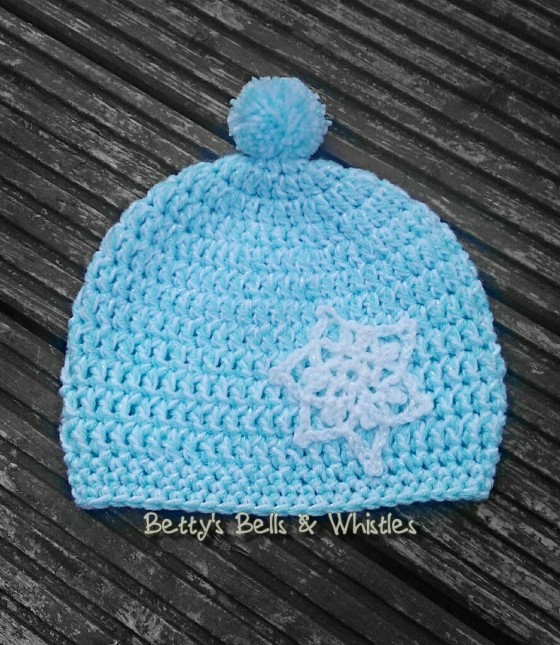
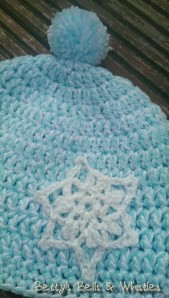
I was late to the party with regards to Frozen, I didn’t see it until the middle of summer but became slightly obsessed with the soundtrack as soon as I saw it. I also loved getting ideas for new hats and accessories and thought I would carry on with my theme of crocheting with two strands of yarn in order to make a hat that was a bit different to all the Elsa crowns and braids out there. This is a really simple hat that looks so sweet when complete.

This simple pattern makes a hat that will fit a child from approximately 3-8 years. It’s lovely and stretchy.

IMG_20140918_112720_wm

You need: 

  • DK yarn in turquoise and sparkly white. I used stylecraft special “sherbet” and James C Brett Twinkle DK in white.
  • 6mm and 5.5mm hook for hat. 4mm hook for snowflake.
  • Pom-pom maker such as this clover one. Alternatively, use good old fashioned cardboard circles. Plenty of YouTube videos to show you how.

Pattern is in US terms.

HAT

Start with 6mm hook:
Magic ring, chain 2, DC 10 in magic ring, join to first DC, ch 2
Round 2: ch 2, 2 DC in each around, join (20 DC)
Round 3: ch 2, 2 DC in first stitch, DC in next, around, join (30 DC)
Round 4: ch 2, 2 DC in first stitch, DC in next two, join (40 DC)
Round 5: ch 2, 2 DC in first stitch, DC in next three, join (50 DC)
Round 6: ch 2, 2 DC in first stitch, DC in next 9, join (55 DC)
Round 7-13: ch 2, DC in each stitch around, join (55 DC)
Round 14-16 (change to 5.5mm hook): ch1, SC in each stitch around, join, ch 1 (55 SC)
Finish off.
Snowflake: I used this pattern by swirls and sprinkles, the sparkly DK and a 4mm hook, and blocked using spray starch before sewing to my hat.
Pom pom: I made by wrapping both strands of yarn round the pom-pom maker at the same time.
IMG_20140918_112852_wm

image

My current WIPs

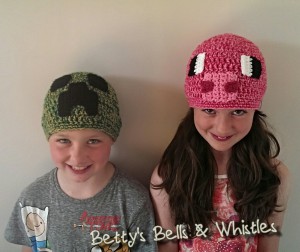
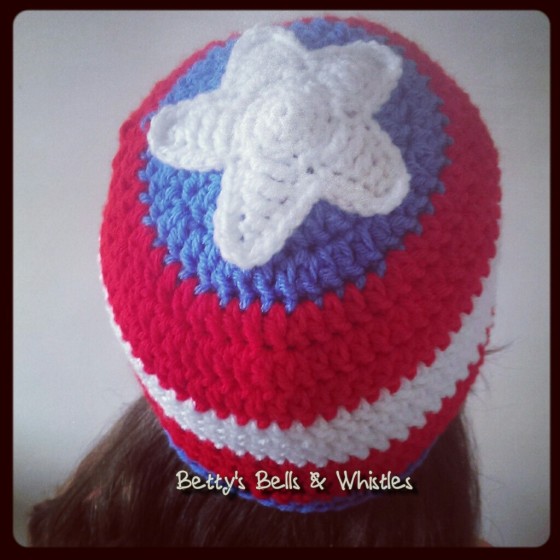
What a busy week we’ve had. Yesterday we attended Carlisle Megacon with the This Could be Massive crew and I put together a few hats to sell. So, the last week I’ve been busy making Minions, Adventure Time Finn, Captain America, Thor and of course a couple of Creeper hats and a Pig. Unfortunately I didn’t photograph most of them so have no record of them now! The only one that didn’t sell was Captain America and that was my favourite (and the only one I had photographed previously!).
image

Continue reading

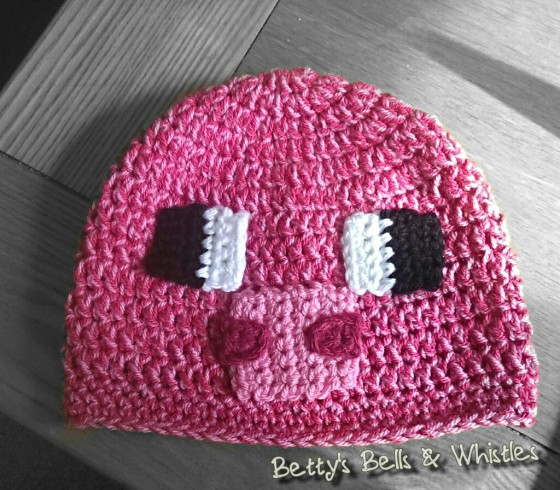
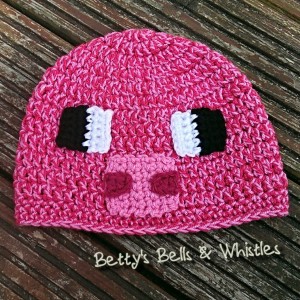
Minecraft inspired Pig hat

Following on from the Creeper hat, I decided to try making another Minecraft character hat. After green, pink is my favourite colour so it had to be the pig! The faces are so easy to make as the Minecraft characters are all pixellated which makes the designs nice and square. The Pig is almost as simple as the Creeper, just a couple of colour changes to consider.

This pig has a derpy face. Apparently.

I adjusted the hat pattern slightly from the Creeper hat, just to make the edge a bit more snug.

You need:

  • DK yarn in two shades of pink/red. I used Stylecraft special DK in Fondant and Pomegranate. (Approx 35g of each)
  • Chunky yarn in pink (I used Stylecraft chunky in fondant but you could double up the DK yarn)
  • Chunky yarn in dark pink (or again, double up the darker DK you used)
  • Black chunky yarn (scraps)
  • White chunky yarn (scraps)
  • 5mm hook (for face)
  • 6mm hook (for hat)
  • 5.5mm hook (for hat edge)

I use US crochet terminology.

HAT
Start with 6mm hook:
Magic ring, chain 2, DC 10 in magic ring, join to first DC, ch 2
Round 2: ch 2, 2 DC in each around, join (20 DC)
Round 3: ch 2, 2 DC in first stitch, DC in next, around, join (30 DC)
Round 4: ch 2, 2 DC in first stitch, DC in next two, join (40 DC)
Round 5: ch 2, 2 DC in first stitch, DC in next three, join (50 DC)
Round 6: ch 2, 2 DC in first stitch, DC in next 9, join (55 DC)
Round 7-13: ch 2, DC in each stitch around, join (55 DC)
Round 14-17 (change to 5.5mm hook): ch1, SC in each stitch around, join, ch 1 (55 SC)
Finish off.
PIG FACE:
Eyes – make two (In chunky black using 5mm hook):
ch6
Row1: SC in 2nd chain from hook and in next 4 chains. Ch1, turn. (5 SC)
Row 2: SC in each stitch. Ch1, turn.
Row 3: SC in each stitch. Change to white chunky yarn. Ch1, turn.
Row 4-5: SC in each stitch, Ch1, turn.
Row 6: SC in each stitch, fasten off.
Snout (light pink chunky and 5mm hook):
Ch7
Row 1: SC in 2nd ch from hook and in next 5 st. Ch1, turn. (6 SC)
Row 2-7: SC in each stitch. Ch1, turn.
Row 8: SC in each stitch. Fasten off. (6 SC)
Nostrils – make two (In dark pink chunky using 5mm hook):
Ch4
Row 1: HDC in 3rd ch from hook and in next ch. Fasten off. (2 HDC)
Tie in the ends and position the face pieces on the hat as shown in the picture. Stitch the nostrils to the snout before sewing the snout on. Pin the eyes in place and sew on the hat.
IMG_20140808_064910_wm
IMG_20140808_064654_wm